It’s probably because it was a proof of concept they quickly put together and didn’t have the time to write detailed build instructions on how to make a replica. Like they said in the video, they might eventually expand the concept into a modular 3D-printable robot with more features.
Hey @skj9865, as @AgentRev mentioned, that note is there simply because we haven’t included step-by-step LEGO building instructions. All other detailed setup and usage instructions are available in the everything_is_awesome repository. We’ll remove that warning once a 3D-printable version of the robot is available.
Personally, I’d recommend designing and printing the robot parts, but starting with a rough LEGO mock-up is a good idea to get an initial sense of the dimensions, wiring layout, and mechanical challenges before committing to a full design.
One thing to keep in mind is that depending on the exact dimensions of your build, you might need to adjust some variables that affect the DepthTo3DTransform . There’s a short section on this in the Robot LEGO Design part of the README.
Feel free to post your questions as you build the robot and I’ll do my best to answer them quickly
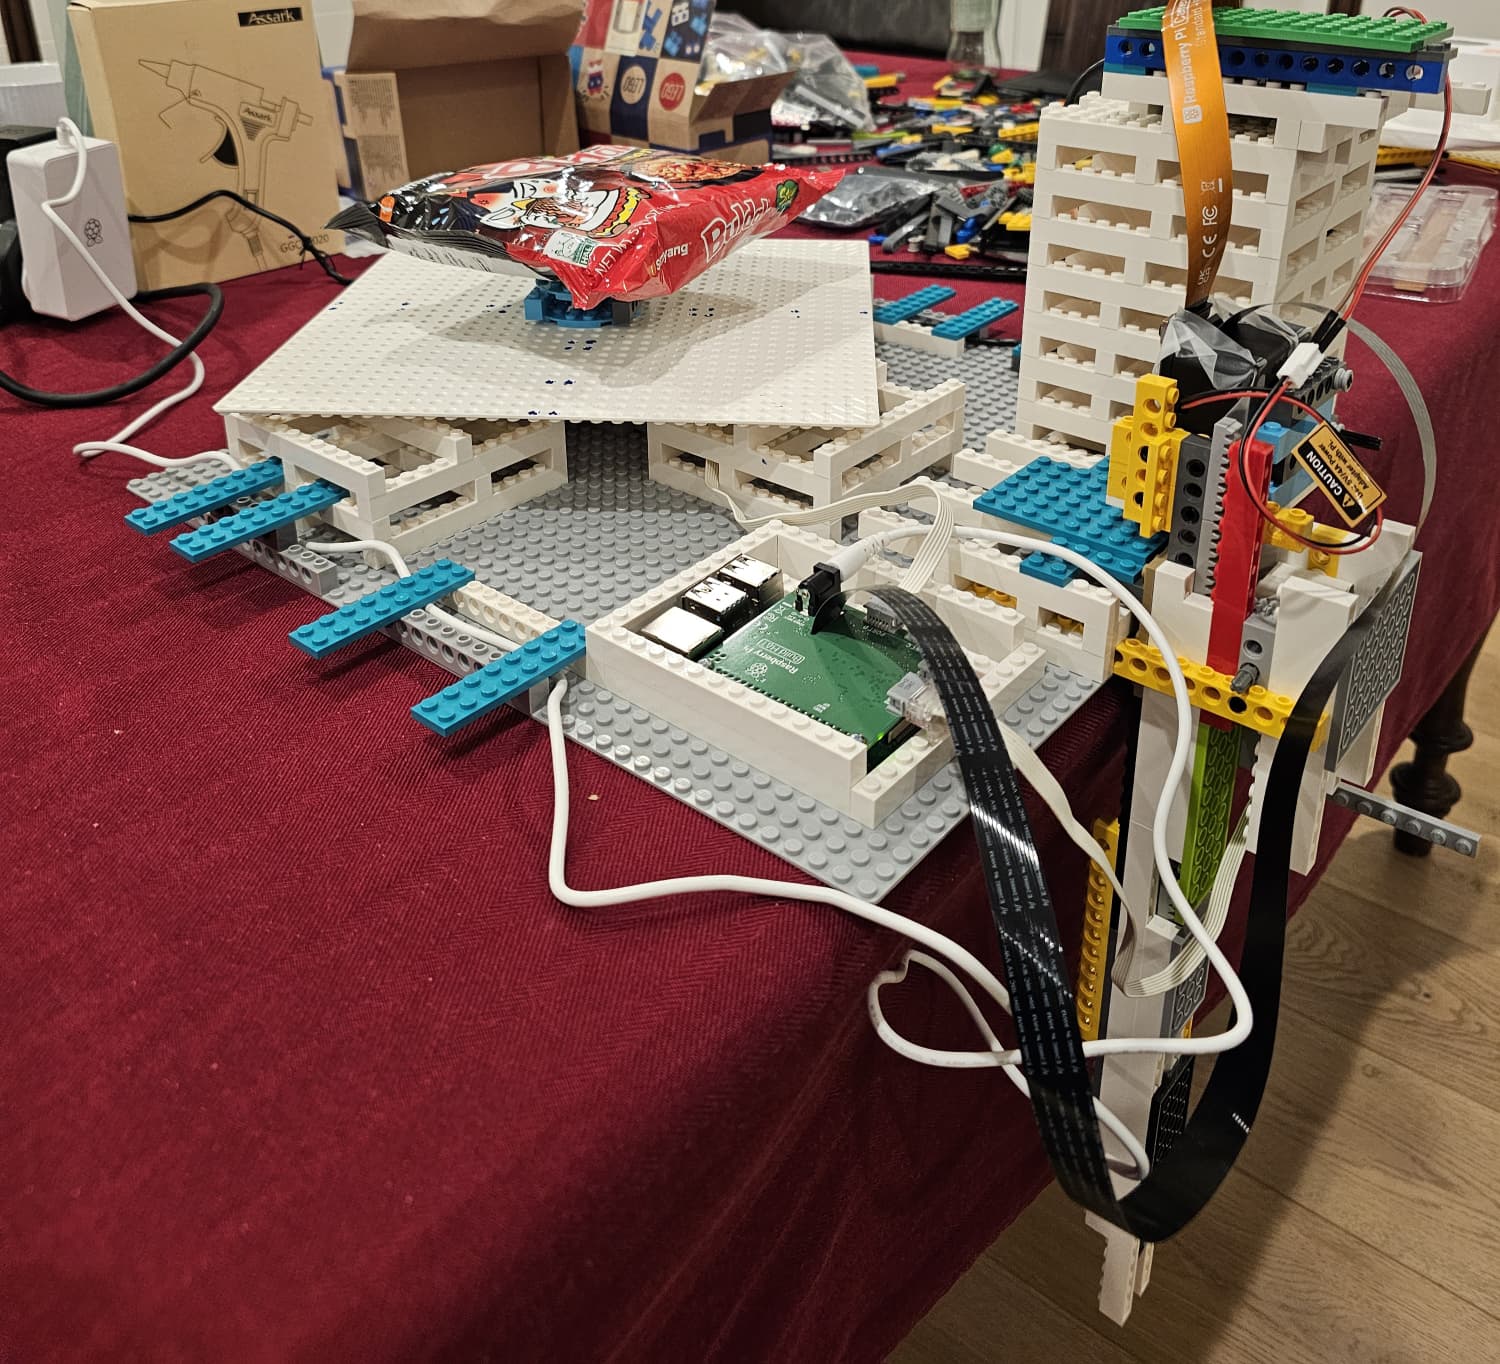
We had bought a LEGO Technic lot of parts from ebay before the hackathon (this one and this one). These had a broad mix of parts, but we still had to visit a few LEGO stores to find some missing pieces. Unfortunately, we didn’t keep track of the list of parts we used as we were building it. But I shared a couple more images that might help.
We also used two LEGO Technic Medium Angular Motors and a Raspberry Pi Build HAT to control it.